These diagnostics can also be carried out on most Linux OS’s and enables Linux users to determine how well their computer hardware is running by providing information about its capabilities and the need for refurbishments. The results of a Linux system benchmark will help determine if users should make any changes to hardware and identify system bottlenecks. There are many open-source Linux benchmarking tools available to help users fine-tune their network and system with objective comparisons. This article will outline several tools available to perform a Linux system benchmark.
Hardinfo
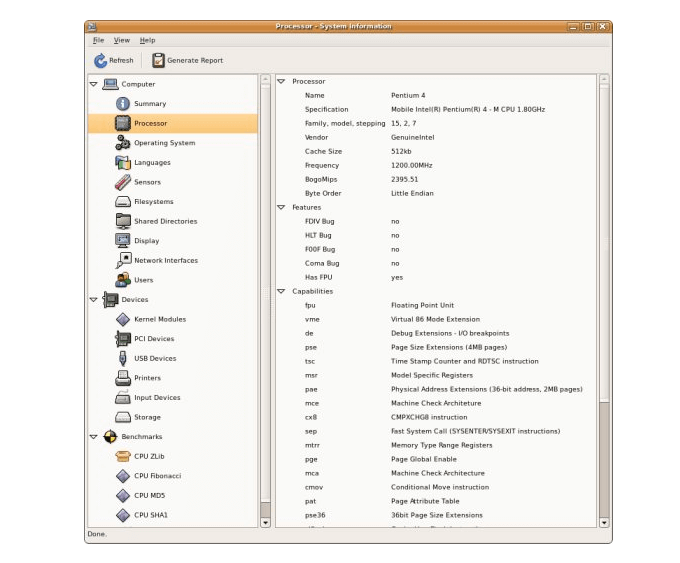
Hardinfo provides both basic benchmarks and detailed system information and is available in most Linux distribution repositories. It will also generate comprehensive reports.
Download and install HardinfoTo launch the application, go to System Tools > System Profiler and BenchmarkOr, launch from the command line $ hardinfo
The following tests are available in Hardinfo:
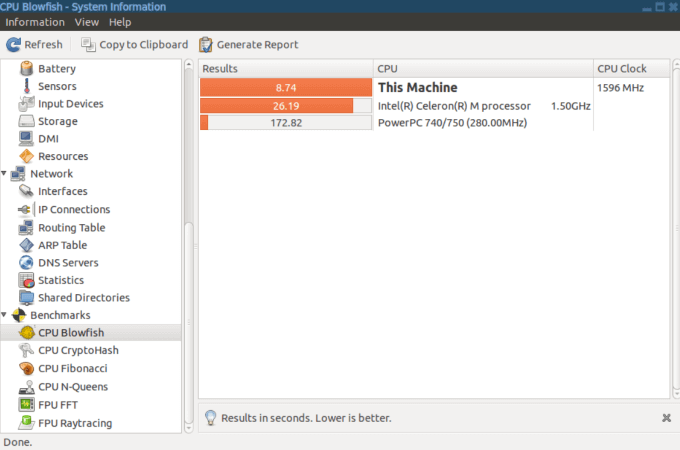
CPU FibonacciCPU BlowfishFPU RaytracingCPU CryptoHashCPU N-QueensFPU FFT
Each of the above Linux system benchmark tests will provide a score that you can use to compare with other systems. You can also get quick system information by clicking on a test and seeing the details on the right side of your computer. To run a benchmark, click on the tab you want. Hardinfo will then run the test. See your results on the right-hand side. Click on Generate Report from the top toolbar to export the device, network, computer, or benchmark results to an HTML file. After the export is complete, you will see an option to open the file immediately and view it.
Phoronix Test Suite
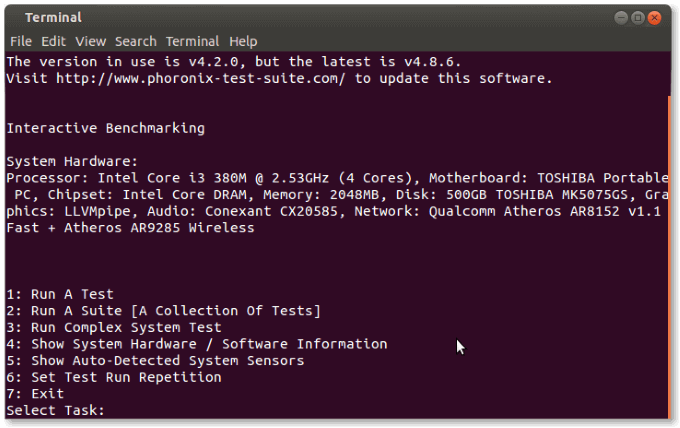
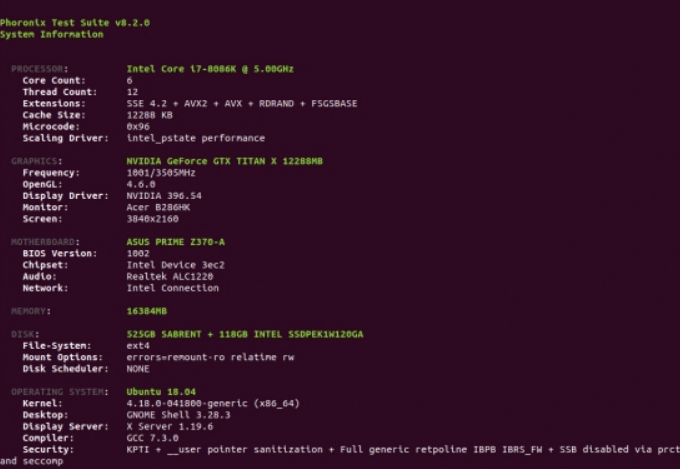
The Phoronix Test Suite is free and open-source with access to more than 100 Linux system benchmark test suites and more than 450 test profiles. Only install the tests you want and get access to reports and system logs. You can find Phoronix in Ubuntu’s Software Center as well as other Linux distribution package managers. It provides users with a menu of benchmarking and information options. There are three ways to install the Phoronix Test Suite. The first method is to open terminal and install it with the following command:
sudo apt-get install phoronix-test-suite
Another method is to search for Phoronix in the Ubuntu Software Center and install the package. Or go to the product website and download the latest version. Once downloaded, install it from terminal using the command below:
sudo dpkg -i /path/to/packagename.deb
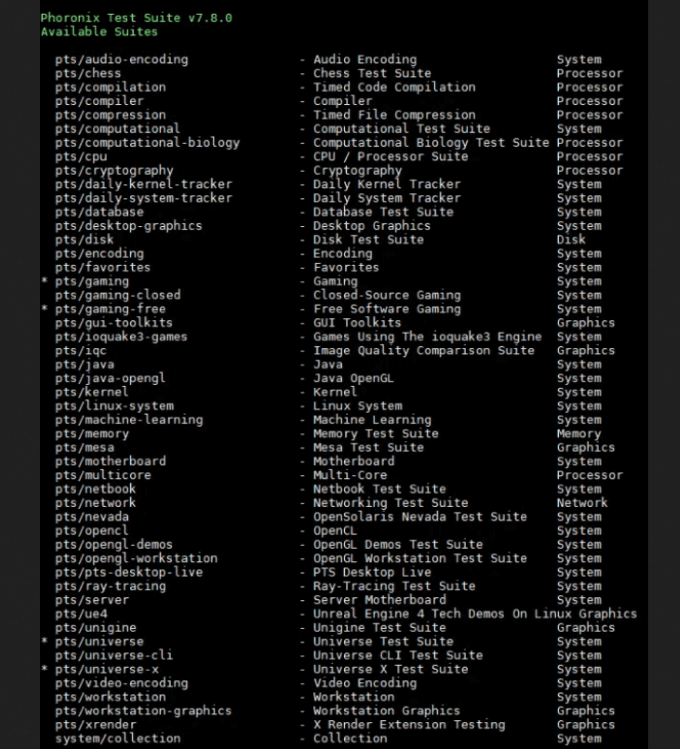
You must also install the basic dependencies with this command: php5-cli php5-gd As mentioned above, Phoronix has over 100 tests. Keep in mind that each test requires you to download its dependencies. Users can run individual tests or groups (suites) of tests. Create your own suites or use the ones provided by Phoronix. Use the command below to view a list of currently available suites:
phoronix-test-suite list-available-suites
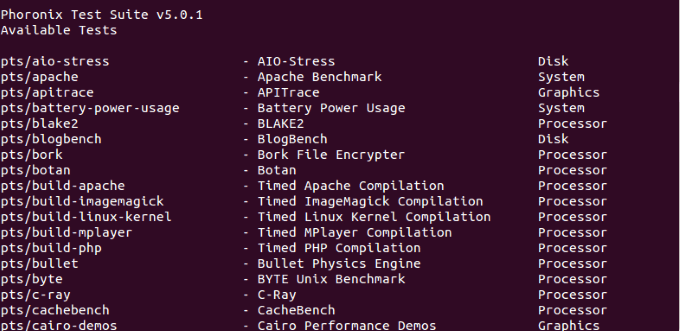
To view the list of currently available Linux system benchmark tests, use the following command:
phoronix-test-suite list-available-tests
Before you can run Phoronix on Ubuntu, you must install the test dependency packages first. On many Linux distros, Phoronix can use the software package management system to install additional dependencies. The easiest way to start testing is to look at the lists of available tests, choose one, and run it by using the following command:
phoronix-test-suite benchmark
If this is your first time using Phoronix, you will need to answer a few questions and then accept the user agreement. Benchmarking results are uploaded to OpenBenchmarking.org.
GtkPerf
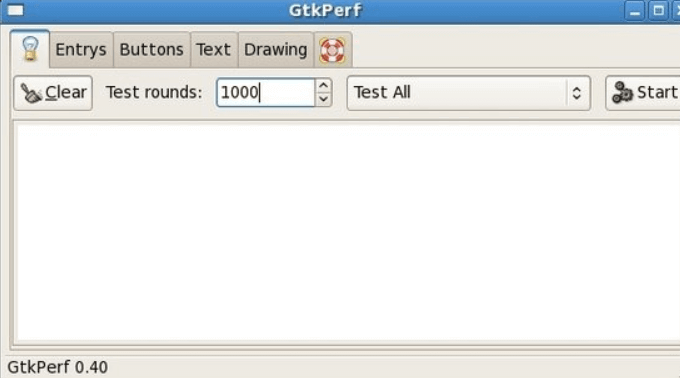
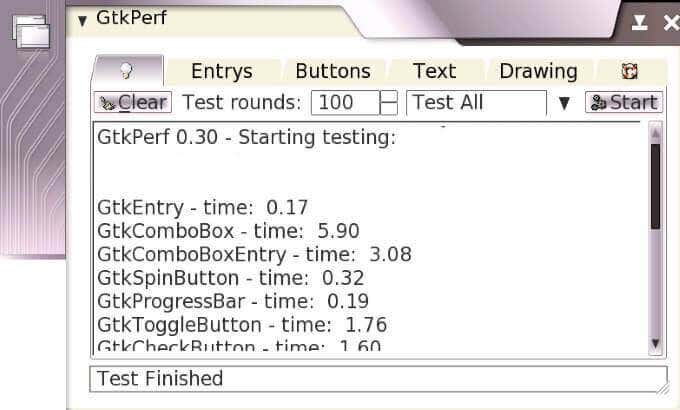
GtkPerf is a test suite used to measure how fast your systems renders lines, creates graphics, and scrolls through dropdowns.Users will be able to get a measurement of how responsive their desktop is. To install it, type the following command into a terminal: do apt-get install gtkperf Or search for it in your package installer. When you start the Linux system benchmark, GtkPerf will perform GTK+ widget operations and let you know how long they take. Users can reproduce tests with GtkPerf to check system performance across multiple devices.
Geekbench
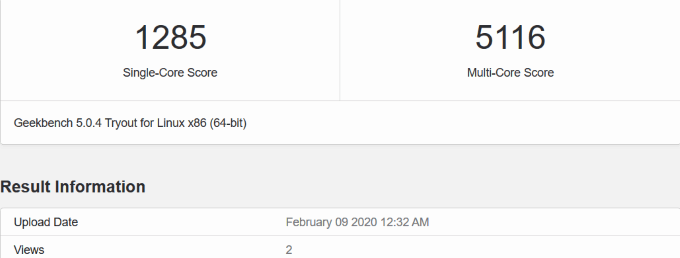
Geekbench is a Linux system benchmark tool with a scoring system that measures single and multi-core performance. It is only available as a command-line executable in Linux. The higher the Geekbench score, the faster and better your CPU. Start by downloading the latest version of Geekbench from the official download page. Or, download Geekbench to your server with the command below: wget http://cdn.geekbench.com/Geekbench-5.0.4-Linux.tar.gz Use tar -zxvf Geekbench-5.0.4-Linux.tar.gz to extract the downloaded files. Change directories to go to the folder where your extracted Geekbench files are located: cd Geekbench-4.3.3-Linux Use the command below to run the test in tryout mode: ./geekbench_x86_64 When the test is completed, you will see a unique website link for each test to view your results. The results are organized into a table. The complete score is at the top of the table. Scroll through to see the results for each test you ran. Results are uploaded to the web, enabling you to browse your scores. Use some of the Linux system benchmark tools above to assess your system’s performance and strength and compare your results to other computers. The benchmarking process will help you find weak links and upgrade where necessary.

