Master pages don’t really matter if you’re designing a single page. However, if the document you’re creating with InDesign has multiple pages—and you want some elements of each page to persist throughout the document—then you’ll definitely make your life easier by learning how to set up master pages in Adobe InDesign. The whole point is to apply changes to multiple pages of your document.
What Is a Master Page in Adobe InDesign?
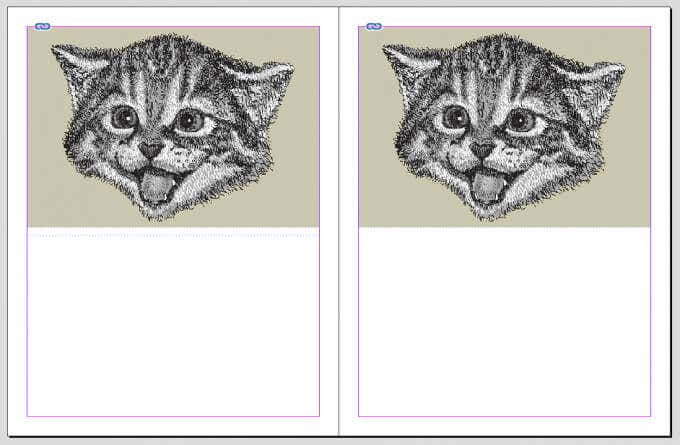
Master pages rule over the layout of the whole document. In other words, if you change something on the master page, you’ll see that change on every page of your document to which the master page has been applied. This is really handy for elements you want to appear on every page. Let’s say you’re designing a multi-page booklet, and you want to have the same image appear at the top of each page. You can add that image to the master page. In doing so, you’ll guarantee that its placement, dimensions, and formatting are standardized across your document.
Can You Have Multiple Master Pages?
Yes. In fact, when you create a new document in InDesign, you automatically have two master pages to choose from, the A-Master and None. As you might imagine, the None master page doesn’t include any elements of other master pages. It’s blank. Furthermore, the A-Master typically includes a left and a right page. That’s understandable because if your document is designed to open like a book, you’ll want things like the page number to be in a different place depending on whether the page is a left-hand page or a right-hand one.
How to Edit and Apply Master Pages
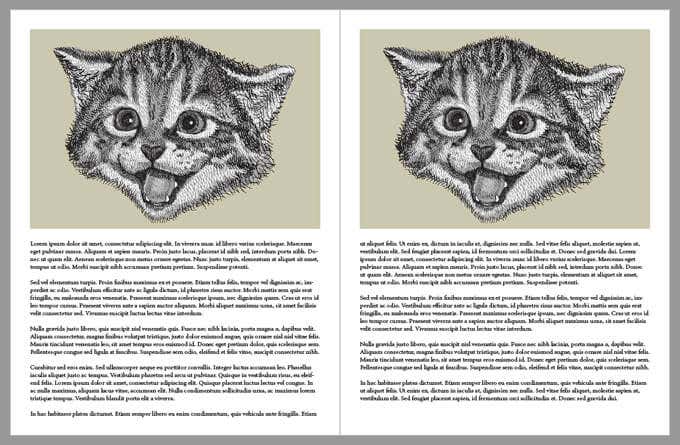
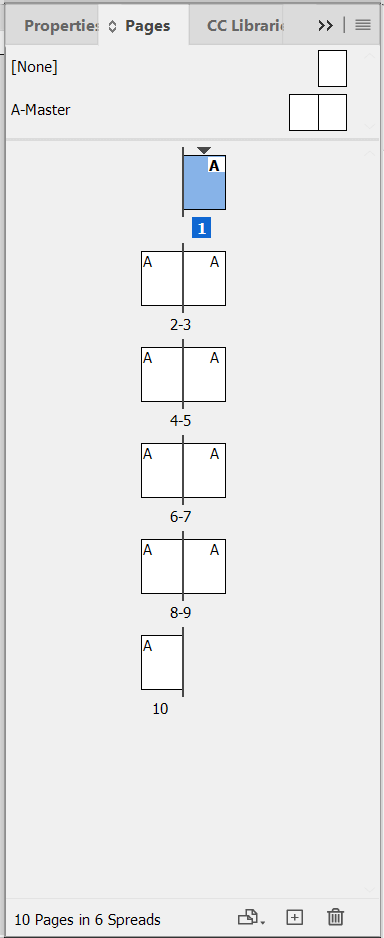
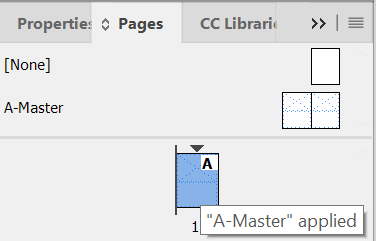
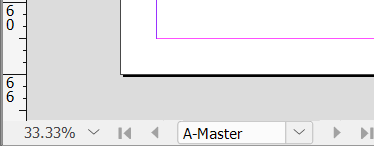
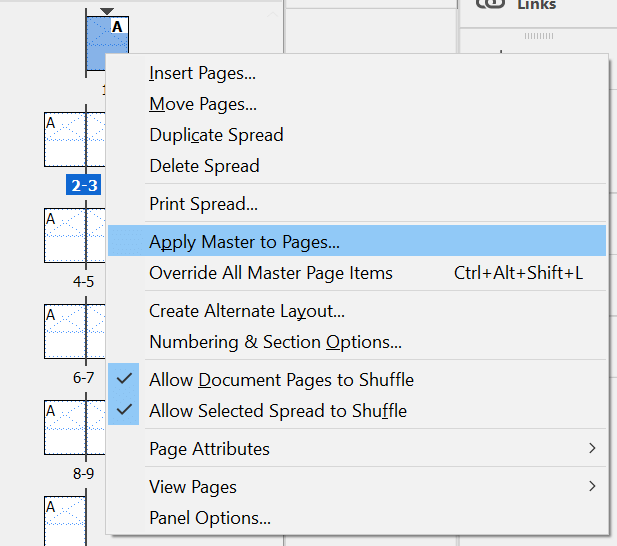
To access a document’s master pages in Adobe InDesign, select the Pages panel from Windows > Pages. All the masters will appear at the top of the Pages panel. Below the master pages, you’ll see every page of your document. Take a look at the screencap below. At the top of the panel, you can see the None and A-Master pages. Then, below the spacer, all of the pages in your document appear as spreads. In this example, page 1 is the front cover of our document, and all subsequent pages are listed below that. Note the A in the top corner of the pages. That tells you that the A-Master has been applied to those pages. You can also hover your mouse over any page in the Pages panel, and a tooltip will appear, telling you which master page has been applied to that page. To modify the A-Master, double-click on it in the Pages panel. (You can confirm which page you’re editing, master or otherwise, by looking at the bottom of the InDesign window). You’ll see the name or number of the page in the drop-down page selector. You can add or change anything you want on the A-Master. Let’s add an image to the left and right pages of the A-Master. Now go back to your document, and you’ll see that the image appears on every page that has the A-Master applied to it, and you’re unable to select, edit, or delete the image. Perfect. But hang on, maybe you don’t want the front cover to have the same elements as the rest of the pages in your document. Applying a different master page is a snap. Right-click on the page in the Pages panel and select Apply Master to Pages. In the Apply Master dialog that appears, choose a different master page from the dropdown list. Continuing our example, choose [None]. In the To Pages dropdown, choose the page you want the [None] master page applied to—in this case it’s page 1, the cover page. Then select OK. You’ve applied the [None] master to page 1, and by selecting page 1 in the Pages panel, you can see that the changes were applied. Page 1 no longer has any of the elements from the A-Master applied to it. It looks like a blank document again.
How to Create a New Master Page
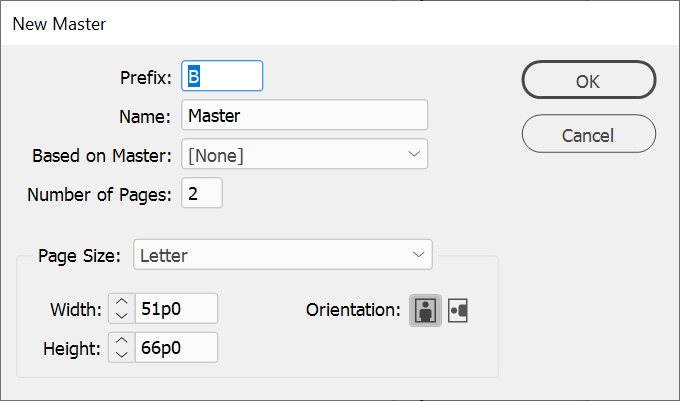
If you want to design a document that reuses multiple layouts, then you’ll need multiple master pages. Create a new master page in the Pages panel by right-clicking somewhere in the list of existing master pages. Select New Master. In the New Master dialog box, choose the Prefix for the new master page and give it a Name. Then choose how many pages this new master should include and the Page Size. You can also specify the width, height, and orientation of the new master. Finally, select OK. Once you’ve created a new master page, add any elements you want to it. Then you can apply it to a page in your document by dragging the icon of the new master page onto the page icon you want to apply it to. Or you can just right-click on a page in the Pages panel, select Apply Master to Pages, and select the correct master for that page.
Can You Override or Unlock Master Pages?
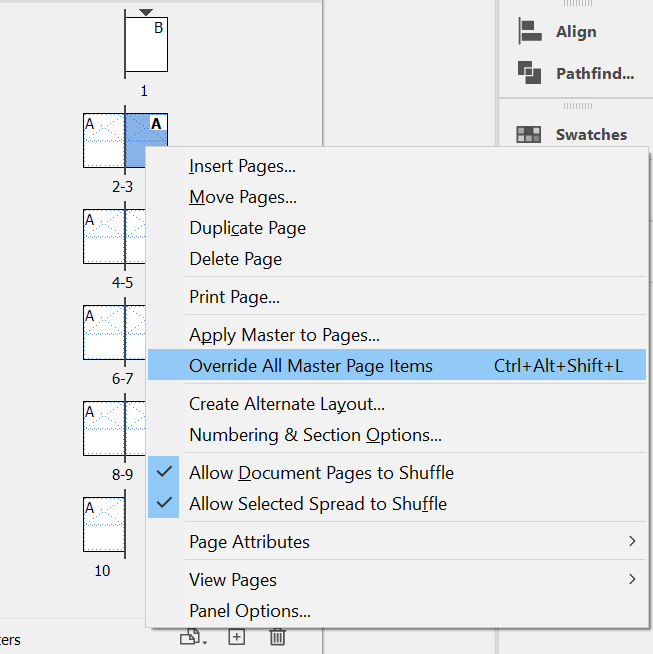
Yes! Let’s say there’s only one thing you need to change about the master on a page in your document. Rather than creating a whole new master page, you can override the master page you’re already using. Go back to the Pages panel and right-click on the page you want to modify. Then select Override All Master Page Items. Now you’ll be able to select any element on the page and change or delete it.
Is It All Too Much?
There’s a learning curve to most apps in Adobe’s Creative Cloud. Even though the apps are robust and many are industry standards, sometimes it’s easier to stick with programs you’re more familiar with. In that case, you might want to check out how to design a document in Microsoft Publisher or Word. We won’t tell!

