You can follow a few methods to get around the issue when Windows 10 won’t sleep. These methods include ensuring sleep mode is enabled and that the power settings are configured properly. Also, before you get started, it’s worth checking your BIOS settings to make sure your PC is enabled for suspend or sleep mode. If that feature is disabled in the BIOS, none of the fixes below will help. Dell has a good article on how to enable sleep mode in the BIOS. If you have a different computer manufacturer, just Google the manufacturer name along with sleep mode to get instructions.
Enable Sleep Mode
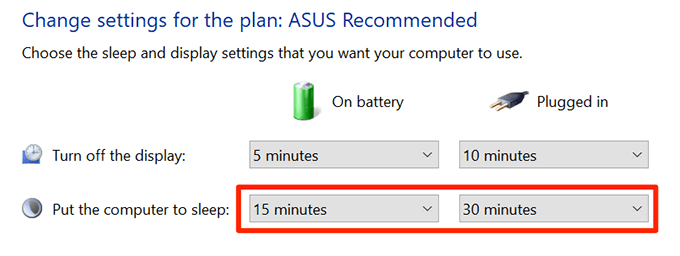
Check the status of sleep mode on your PC. You or someone else may have turned off the mode for some reason or it could have been changed by the third-party app.
Find the Programs Preventing PC Sleep
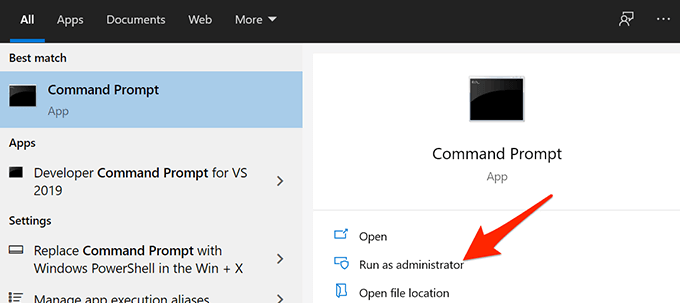
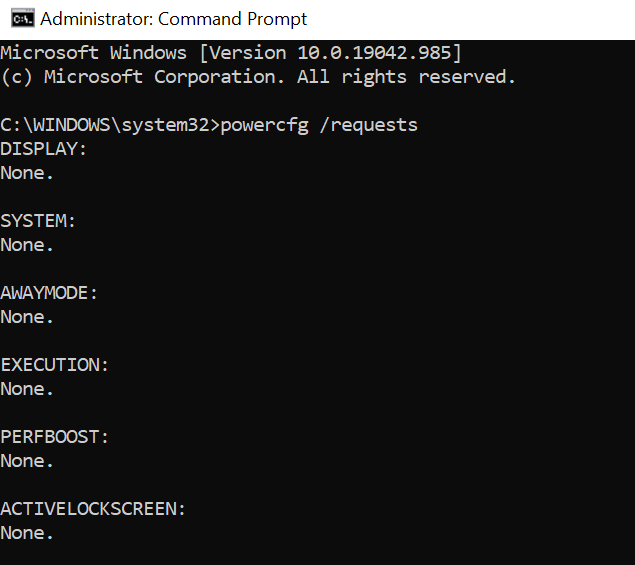
Your installed programs can cause your PC not to go into sleep mode, and it’s often difficult to find what program is causing this issue. Luckily, Windows 10 includes a command to let you view the programs that prevent your PC from entering sleep mode. If something else pops up here like srvnet, make sure read our in-depth guide on how to fix that issue.
Close All Open Programs
If your Windows 10 PC won’t sleep even after closing specific programs, close all of the open programs and see if this makes any difference. You can quit most programs by selecting the Exit option in the program’s File menu. Do this for all of the programs on the system tray as well. Once you’ve closed all your open apps, wait for the time after which your PC usually goes into sleep mode. If it sleeps without issues, there’s an issue with one of your programs, and you need to remove the problematic ones from your PC. To check what program is causing the issue, close one program at a time and see if the sleep mode issue persists. To be even more precise, it’s better to perform a clean boot of Windows 10. This will also shutdown any background processes that might be running even after you close all the open apps in the taskbar.
Change Power Options
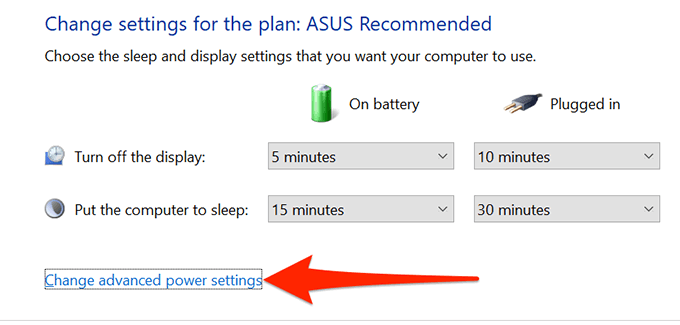
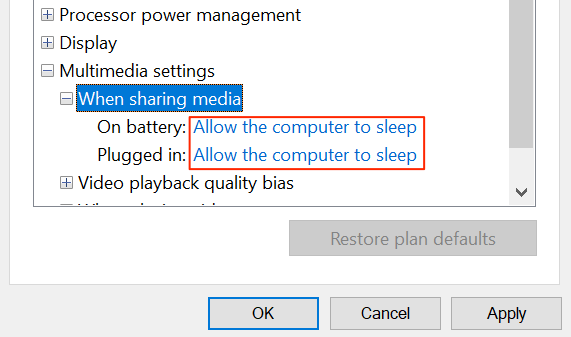
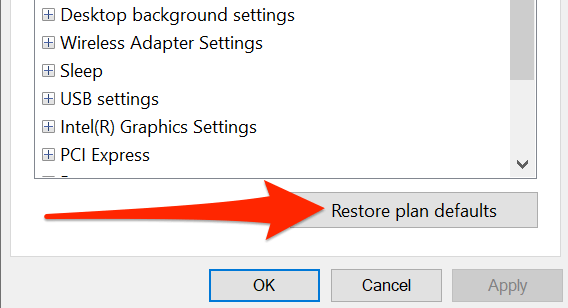
Windows 10’s power settings can interfere with the workings of sleep mode and cause your PC to bypass sleep mode. In this case, check and ensure that the power settings aren’t the culprit here. You can even reset the settings just to be sure.
Turn the Screen Saver Off
It’s worth disabling the screen saver when your PC refuses to enter sleep mode. Then, if you want the screen saver back, you can turn it on anytime you want.
Prevent a Device From Waking Your PC
Windows allows most of your connected devices, like your mouse and trackpad, to wake your PC. If you mistakenly move your mouse around or touch the trackpad, this can prevent your Windows 10 PC from entering sleep mode. To fix this from always stopping sleep mode, disable the option that allows connected devices to wake your computer.
Disable Hybrid Sleep
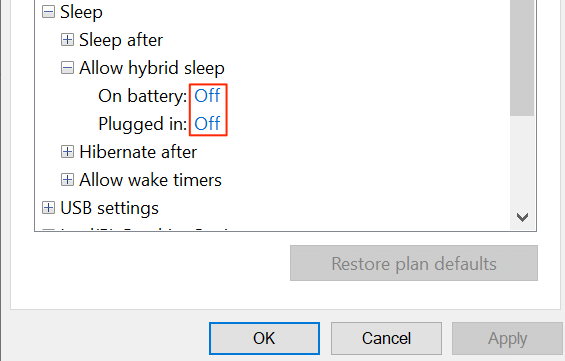
Windows 10 offers a feature called hybrid sleep that combines both sleep and hibernation features into one. If this is enabled, it’s worth toggling it off to see if you can enter the normal sleep mode.
Run Power Troubleshooter
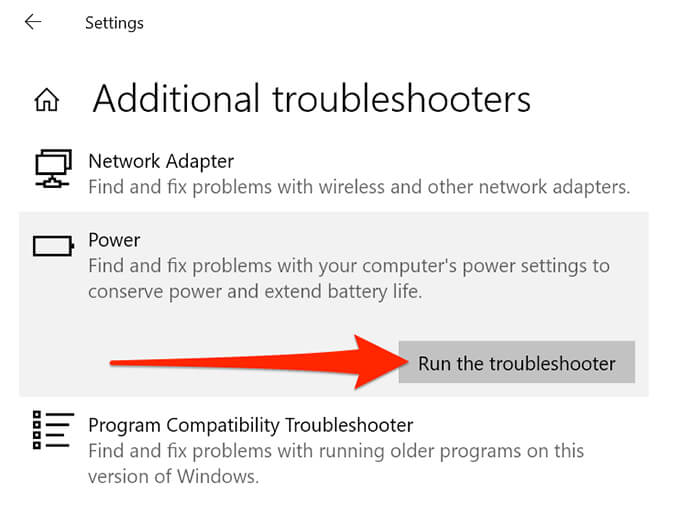
In some cases, it’s difficult to recognize the reason your Windows 10 PC won’t sleep. In these situations, one thing you can rely on is one of Windows 10’s troubleshooters. Windows 10 comes with many troubleshooters that automatically detect and fix issues on your computer. For your specific problem, you can use the power troubleshooter.
Install Windows 10 Updates
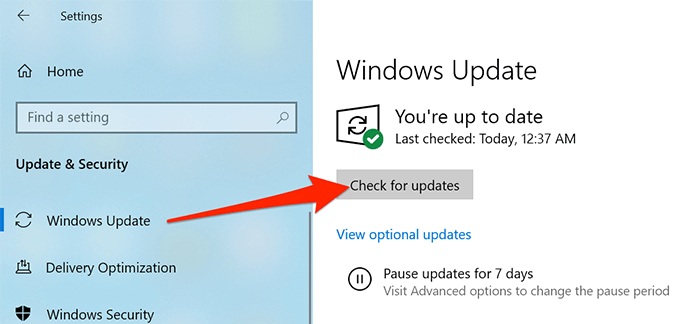
Last but certainly not least, ensure you’re running the latest version of Windows 10. Older Windows versions are known to cause issues, and your issue might be related to running an older Windows version. Luckily, Windows 10 makes it easy to update your PC. As long as you have an active internet connection, you’re just a few clicks away from installing the latest Windows update on your computer. Does your Windows 10 PC now enter sleep mode without any issues? If so, let us know what method worked for you in the comments below.


