If you want to know how to find hidden folders on Windows 10 and any hidden files contained within, you’ll need to use some of the methods we’ve listed below. This includes using secret search tools in File Explorer and Windows PowerShell to locate them, as well as using third-party alternatives like FreeCommander.
How to Find Find Hidden Files and Folders on Windows 10 Using File Explorer
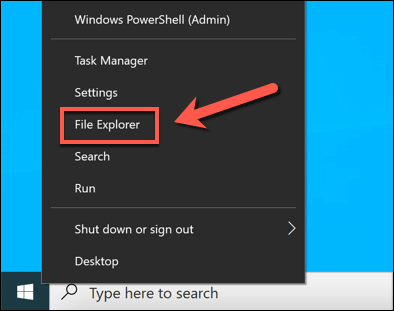
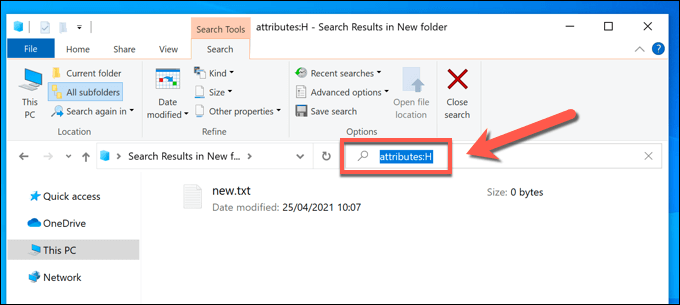
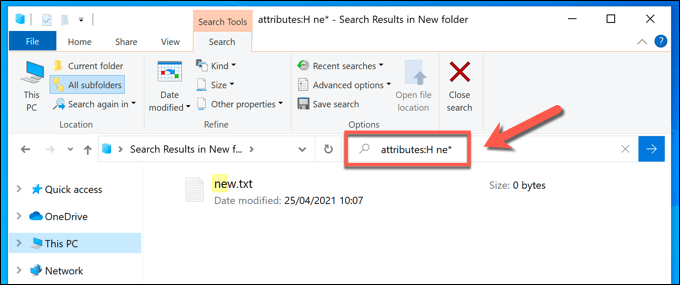
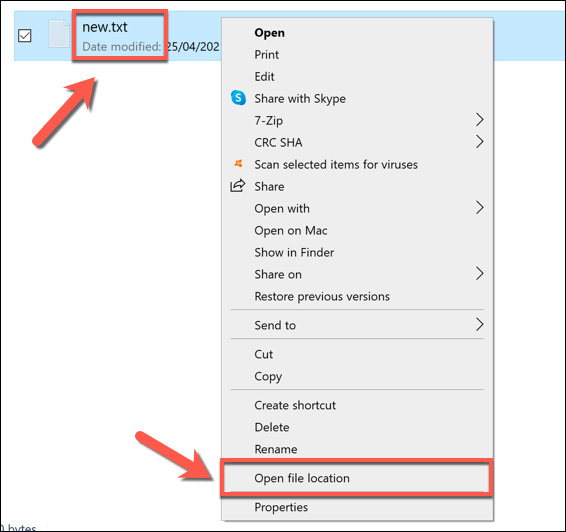
If you’re trying to hunt down a missing file or folder, the best way to do it is to use File Explorer’s search tool. Using advanced search parameters, you can locate any folders or files that have been hidden by view (either automatically or manually) using an open File Explorer window.
Searching for Hidden Files and Folders Using Windows Powershell
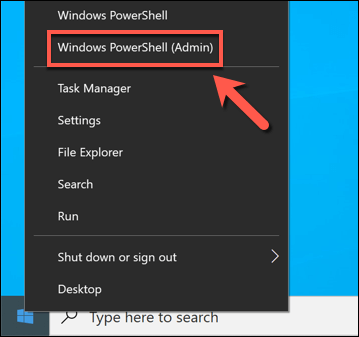
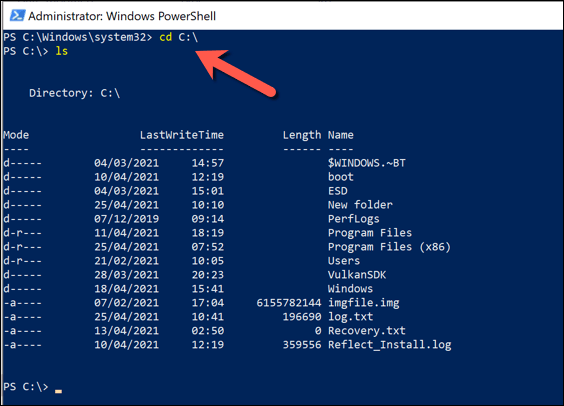
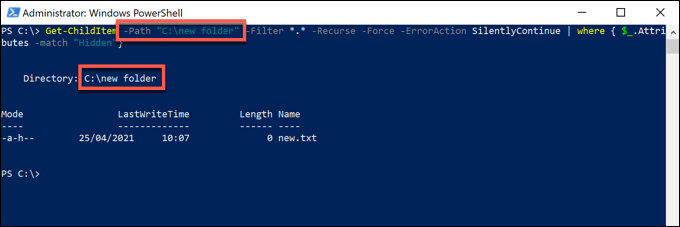
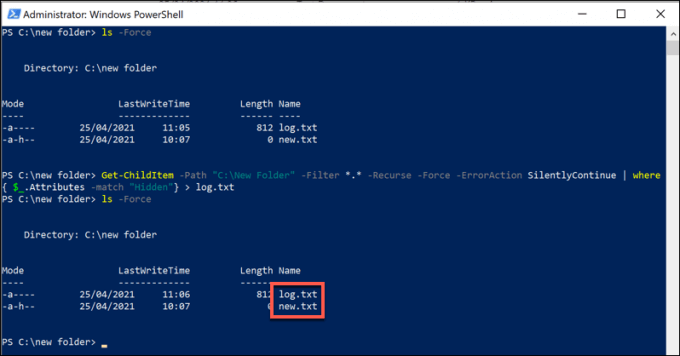
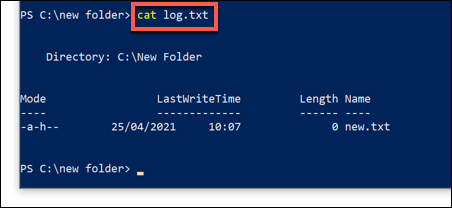
While the File Explorer method above offers the easiest way to find hidden files and folders on Windows 10, it isn’t necessarily the quickest. If you want to quickly search through your PC for any files you’ve missed, a good alternative is to use the Windows PowerShell to do so. You can also use the newer Windows Terminal, but PowerShell remains the default option for Windows 10 users. The commands below are PowerShell specific and won’t work with the older Command Line. To start, open a new PowerShell window by right-clicking the Start menu and selecting Windows PowerShell (Admin). In the new PowerShell window, move to the folder or drive you wish to search. For instance, typing cd C:\ will move you to the root (first) folder on the main system drive, allowing you to search the entire drive. Typing cd C:\Program Files means that the search you perform will only work through any files and sub-folders contained in the Program Files folder. Once you’ve moved folders, type ls -Force to view a list of files and folders contained within (including any hidden files or folders). Once you’ve moved into the folder to begin your search, type the following command into the PowerShell window and press the Enter key to run it: Get-ChildItem -Filter . -Recurse -Force -ErrorAction SilentlyContinue | where { $.Attributes -match “Hidden”}. This will search for all hidden files and sub-folders in your current folder position and list them in the PowerShell window. If you’d prefer to list a folder directory to begin the search, add -Path location to your command after Get-ChildItem, replacing location with a suitable file path. For instance, Get-ChildItem -Path C:\Folder -Filter . -Recurse -Force -ErrorAction SilentlyContinue | where { $.Attributes -match “Hidden”} will search for all hidden files and subfolders in the C:\Folder directory. If the file path contains spaces or other special characters, you’ll need to contain them within quotation marks (eg. Get-ChildItem -Path “C:\New Folder” etc). If PowerShell locates a large number of hidden files and folders, the PowerShell terminal output will scroll through the entries rapidly, making it difficult to analyze. To make this easier, you can save the output of the Get-ChildItem command to a text file, allowing you to search through and review at your leisure. To do this, add > log.txt to the end of your command (eg. Get-ChildItem -Path “C:\New Folder” -Filter . -Recurse -Force -ErrorAction SilentlyContinue | where { $_.Attributes -match “Hidden”} > log.txt). This will create a file named log.txt in your currently active folder containing the terminal output of the Get-ChildItem command. You can set an alternative filepath (eg > C:\Folder\log.txt) or filename (eg hiddenlog.txt) as required. If you’ve created a log file, you can view the contents in the PowerShell window directly by typing cat log.txt (replacing log.txt with the correct file path and file name). You can also open the file as normal using File Explorer and Notepad.
Locating Hidden Files and Folders Using Third-Party Apps
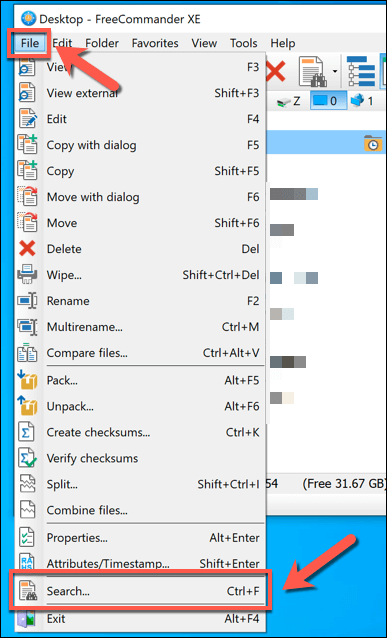
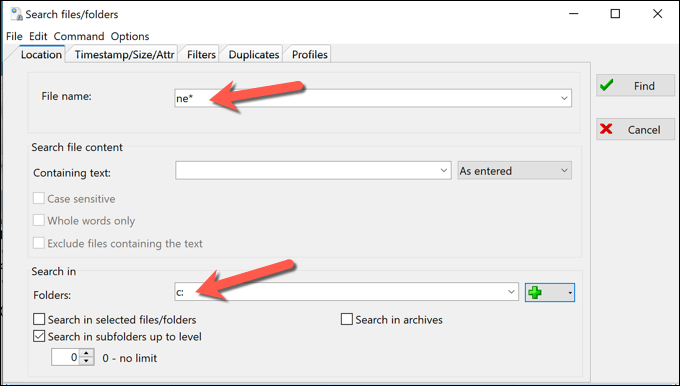
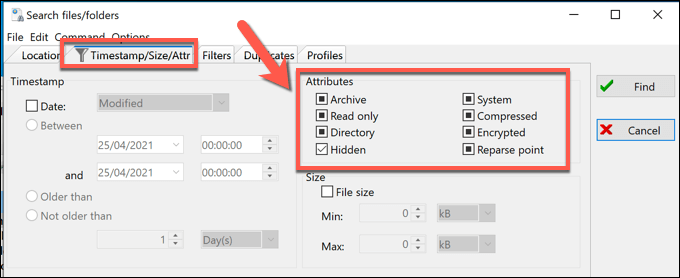
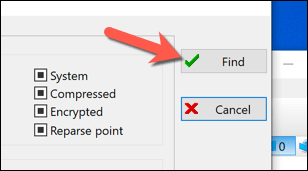
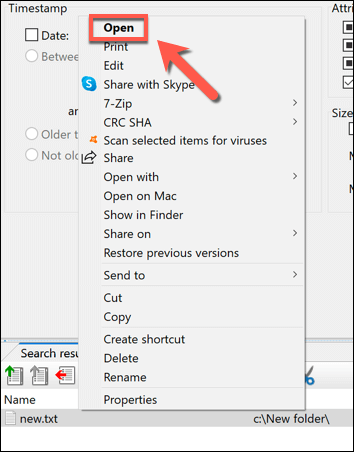
The best methods for finding hidden files and folders on Windows are to use File Explorer or Windows PowerShell as explained above. If these methods are too slow or don’t offer the complex search criteria that you need, you can use third-party apps to search your PC for hidden files as an alternative. While various tools exist that support this, one good option is to use the freeware FreeCommander tool. This File Explorer replacement includes a powerful search tool that allows you to locate hidden files and folders on your PC. To start, download and install FreeCommander on your PC and launch it once the installation is complete. To begin a search in the FreeCommander window, select Ctrl + F on your keyboard or select File > Search to open a new search window. In the Search files/folders window, enter the search criteria for file or folder names in the File name box, located in the Location tab. You can use full file names or find partial matches using a wildcard (eg. file or fil*). In the Search In box below it, select the folder to begin the search. You can type this manually (eg. C:\ to search the entire system drive) or select the add button > Browse to identify them individually. Select the Timestamp/Size/Attr tab next and make sure to select the Hidden attribute checkbox so that a tick is visible. Leave all other checkboxes with a solid black check (ensuring that they’re included) or select them twice to uncheck them and remove any files containing those attributes from your search. Select any other search criteria that you require in all the available search tabs. When you’re ready to begin your search, select Find to begin. Search results will appear in the Search result tab at the bottom of the search window. To open any of the hidden files or folders that FreeCommander locates, right-click the entries and select Open.
Managing Your Files on Windows 10
Knowing how to find hidden files on Windows 10 is easy — once you know where to look. Whether you use File Explorer, Windows PowerShell, or third-party apps like FileCommander to get the job done, the steps above should help you locate your previously hidden files and folders. The next step is to manage your files properly. There are plenty of advanced search tips to locate missing files, but you may also need to consider backing up your important files to make them easier to access in the long run. You can also look for large files on Windows to help free up disk space for other files and applications.
