A Chromebook has some limitations, such as little local storage and the inability to install local software. However, you are not limited to a single computer monitor when using a Chromebook. In this article, you’ll learn how to add an external monitor to your Chromebook.
HDMI Cable
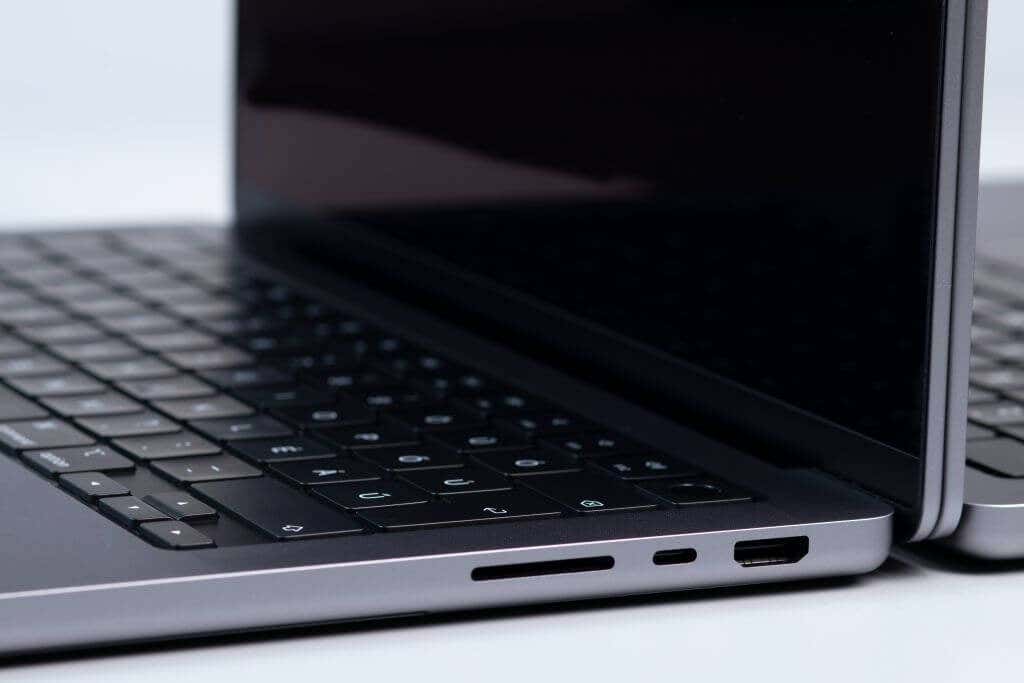
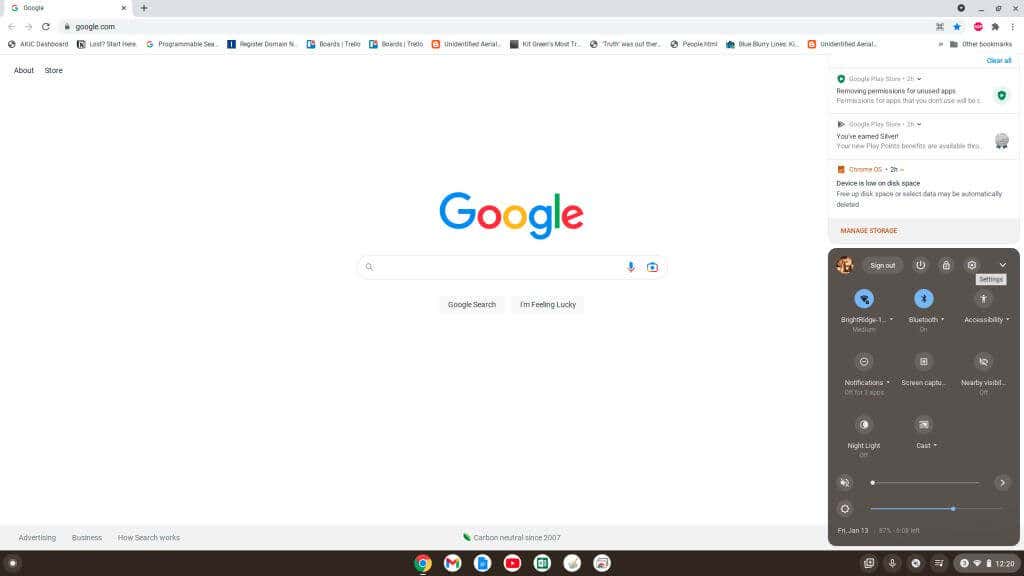
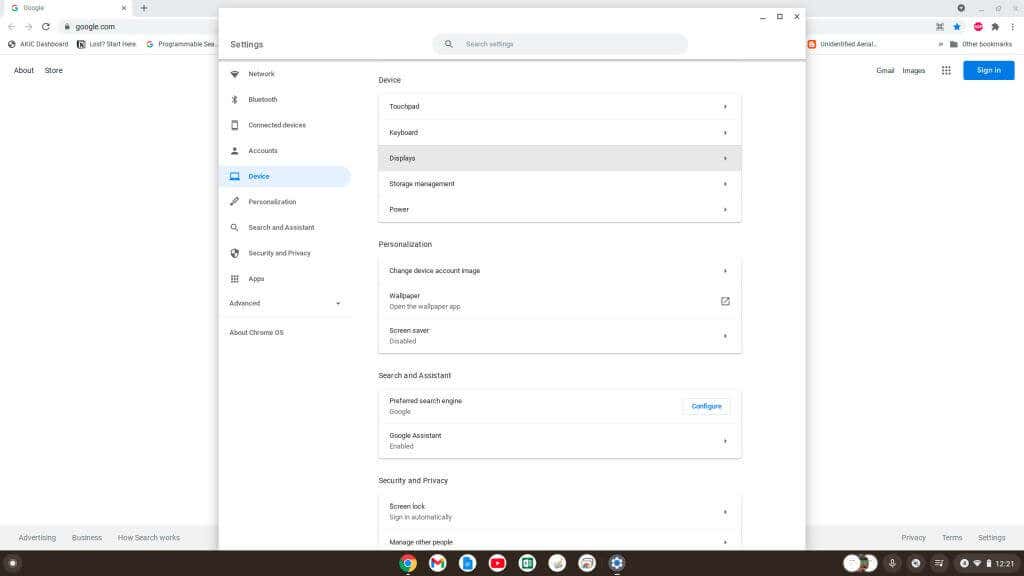
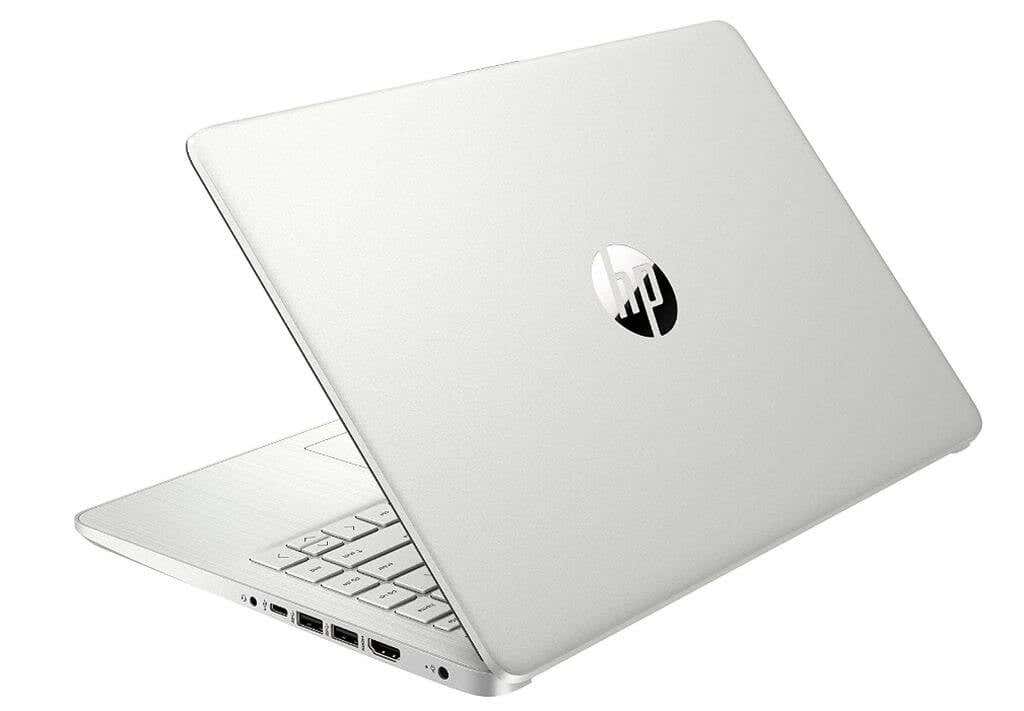
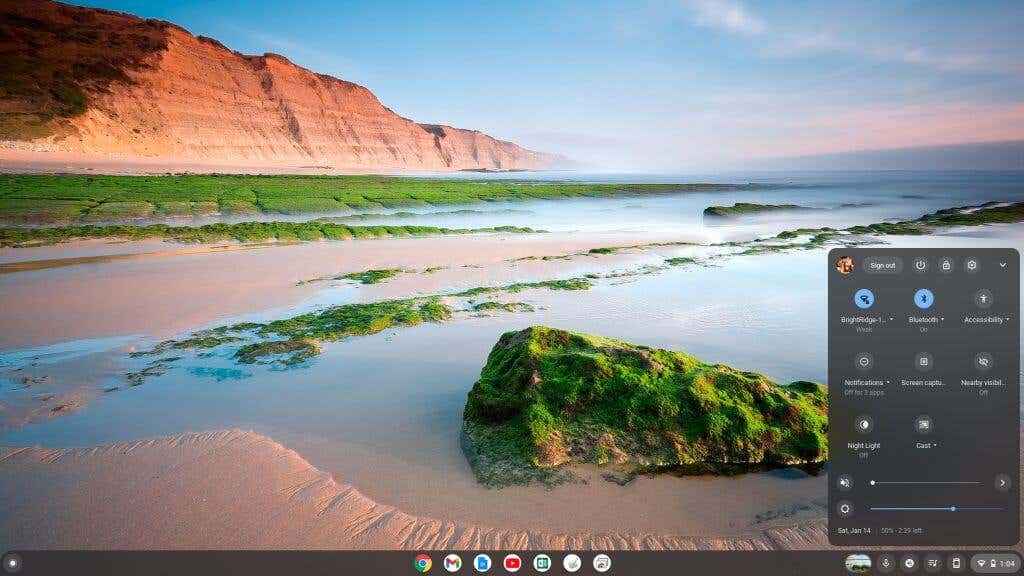
The quickest and easiest way to connect your Chromebook to an external monitor is by connecting a monitor to your Chromebook using an HDMI cable. Just plug one end of the HDMI cable into the HDMI port on your Chromebook and the other to the external monitor. Once connected, you can immediately start using the external monitor with your Chromebook. However, you will need to adjust a few display settings. When you plug in an external monitor via an HDMI cable, you will see the display settings show up automatically. To get to those settings: The same process applies to accessing the display settings in the other connection options described below.
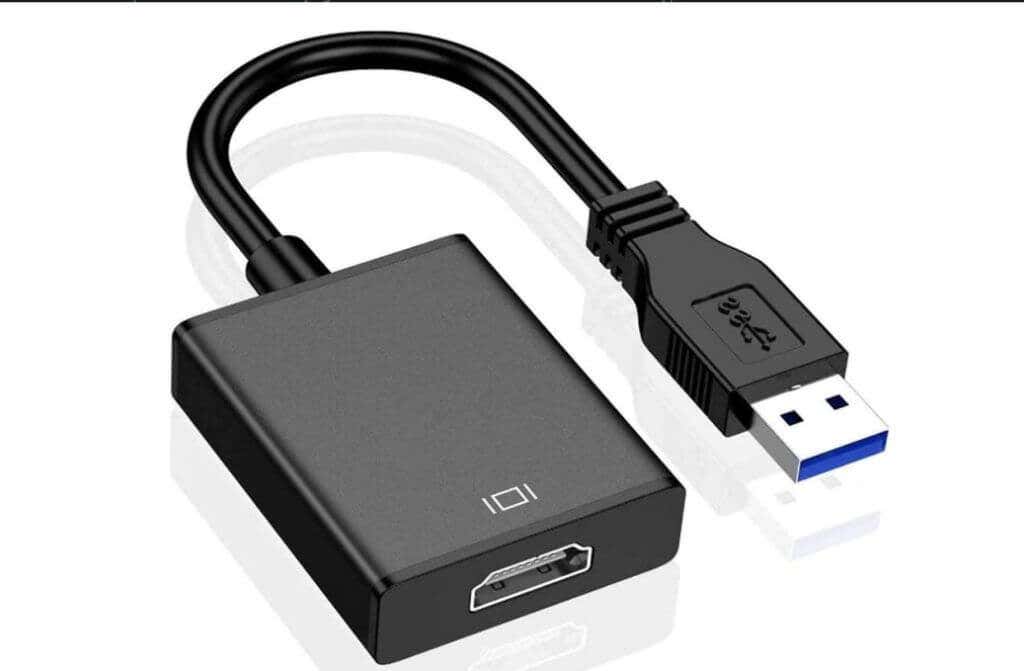
USB-to-HDMI Adapter
Most Chromebook devices include several USB ports. You can take advantage of this by buying a USB-to-HDMI adapter to connect an external monitor. These adapters let you convert your Chromebook USB port into an HDMI port. Connecting an HDMI cable from the USB-to-HDMI cable will behave like you’re connecting directly to an HDMI port on your Chromebook.
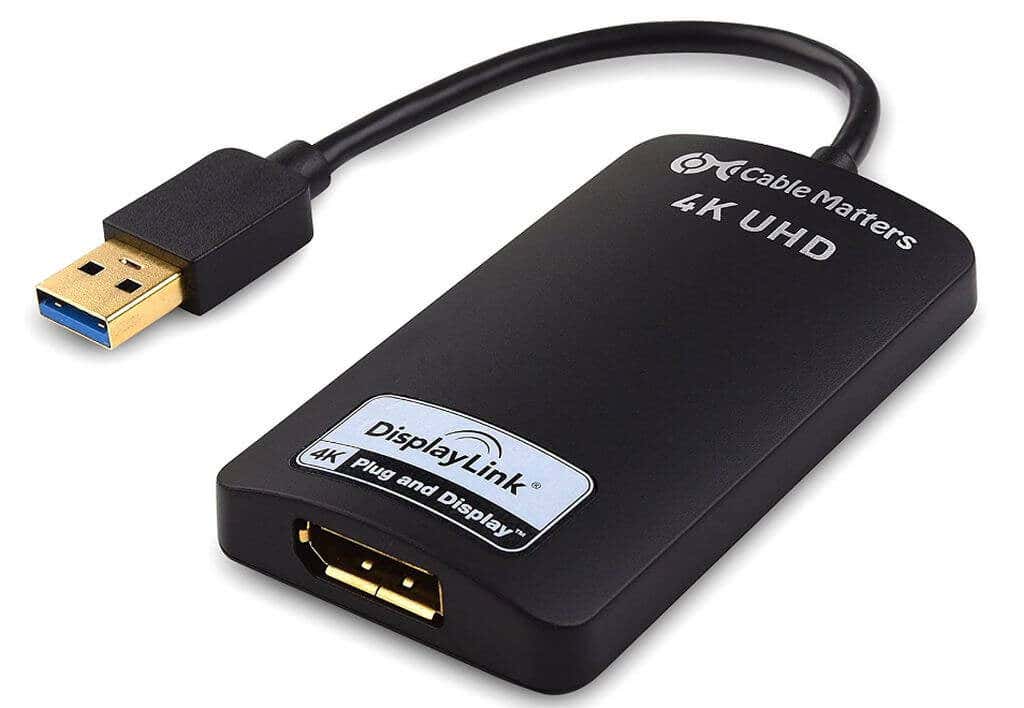
USB-to-DisplayPort Adapter
If you’re trying to connect to an external monitor with only a DisplayPort input, you’ll need to purchase a USB-to-DisplayPort adapter instead. This will convert the USB port on your Chromebook into a DisplayPort port. All you need is a DisplayPort cable to connect from the adapter to the input on your external monitor. All settings and functionality of the display work the same way as an HDMI monitor, as described in the first section of this article. Note: In addition to HDMI or DisplayPort adapters, there are also adapters available to connect to other displays that require DVI, VGA, or other video protocols.
Using Adapters: Beware of Software
If you need to install the driver software, it won’t work on your Chromebook. This is because you can’t install any software on your Chromebook. It’s a web-based laptop where no software runs locally on the machine beside the Chrome OS. However, if you look for any “plug-and-play” adapter that doesn’t require any driver software installation, it should work with your Chromebook.
Connect Via Your USB-C Port
Newer Chromebooks may have a USB-C port available that you can use to connect to an external monitor.
You will need to purchase a USB-C to HDMI adapter, or USB-C to DisplayPort adapter to connect to that monitor. However, this option leaves your other USB ports unavailable for other purposes.
Keep in mind that when you purchase your USB-C cable, make sure it has a performance rating of SuperSpeed USB 5 Gbps or higher, or you may see the error message: “Cable may not support displays.”
Use a Chromecast Device Via Wi-Fi
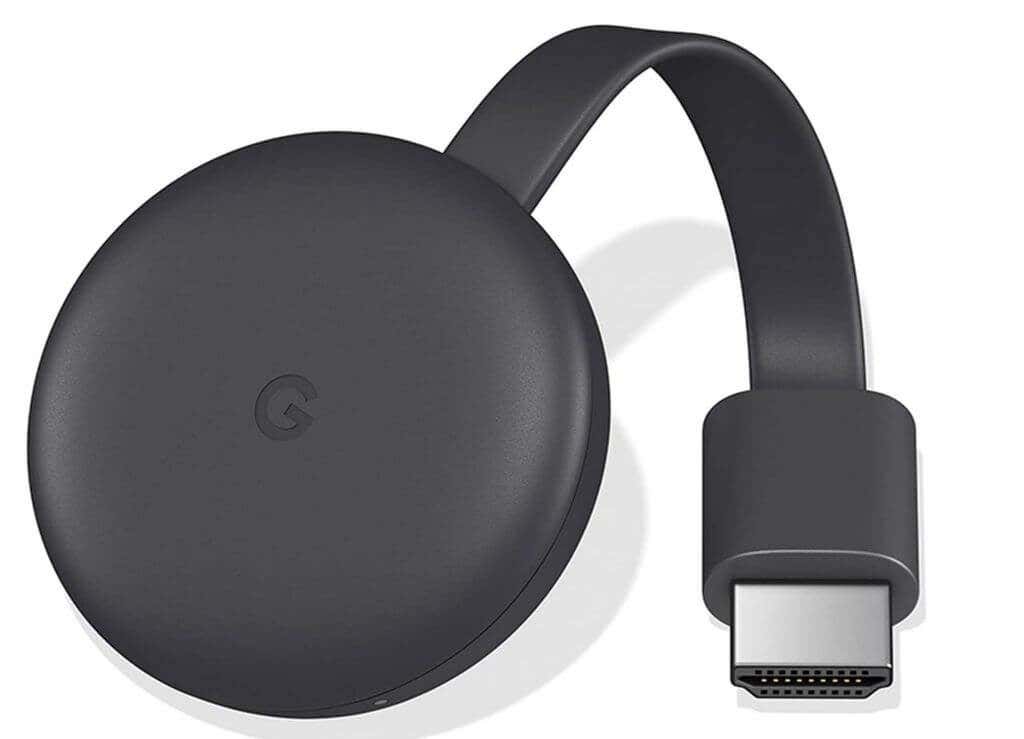
One of the simplest solutions to connect a Chromebook to an external monitor is to use an existing Chromecast device.
You may not have to purchase any cables or adapters if you already own a Chromecast device connected to an existing television or monitor.
So long as the Chromecast device and your Chromebook are connected to the same Wi-Fi network, you can cast your Chromebook screen to the external monitor.
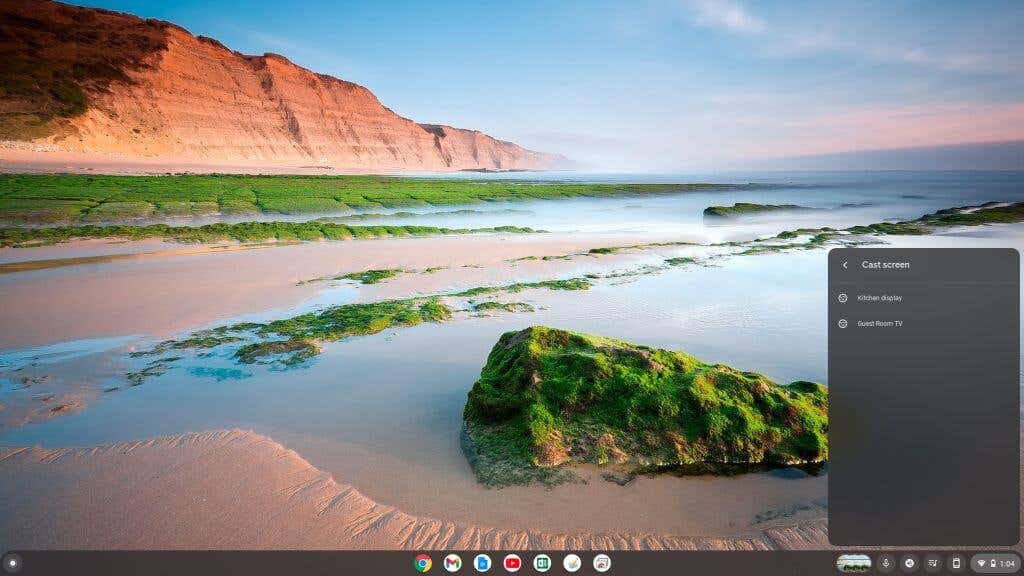
To cast to a Chromecast with your Chromebook, follow these steps:
- Select the lower right corner of the taskbar and select the Cast button.
- Select the Chromecast from the list to which you want to cast your screen. Once you do this, you’ll see your Chromecast desktop appear on the remote display.
How to Adjust Chromebook Display Settings
Regardless of your approach to displaying your screen remotely on an external monitor, you’ll want to adjust the settings for that display for the highest quality image.
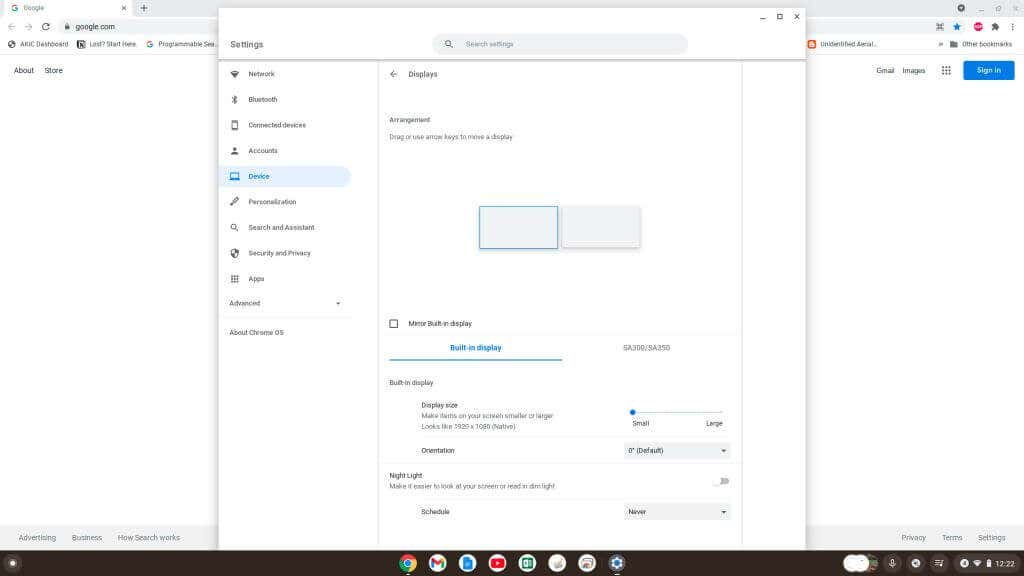
Adjusting an external screen display is very simple on a Chromebook. Use the procedure outlined above to access Display settings in the Chromebook Settings menu.
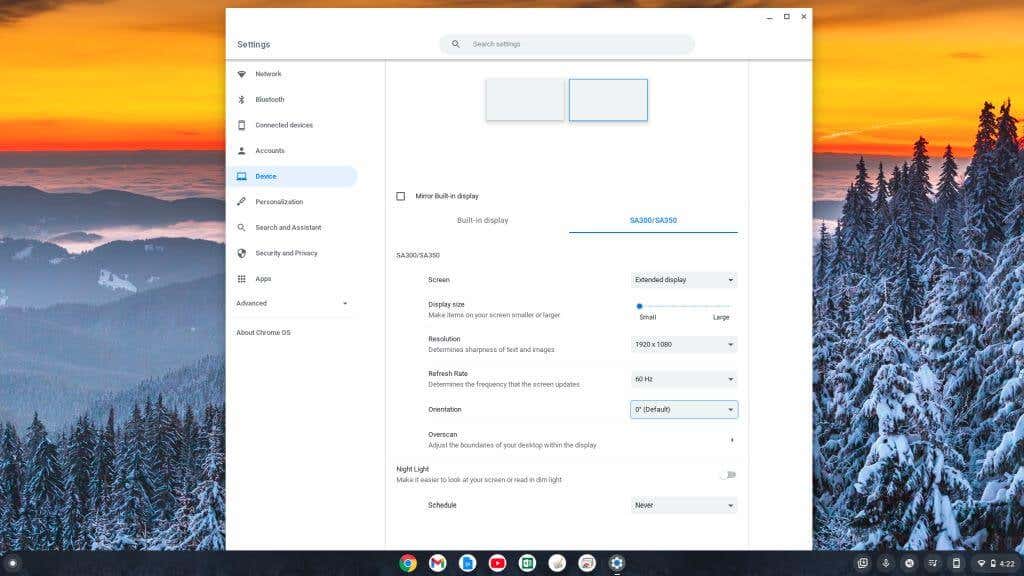
Once you have the Display settings open, scroll down to the bottom of the right pane, and you’ll see all the Display options. Make sure to select the display image for the external monitor you’re connected to.
These settings include:
Display Size: How big things like icons appear on the screen. Resolution: How sharp things appear on the display. (Align this with the best possible resolution of the connected display). Refresh Rate: How fast the screen “repaints” pictures. This usually stays at 60 Hz for most displays. Orientation: Whether you’re using a horizontal or vertical display. Overscan: Allows you to adjust the boundaries of your desktop, so it fits with the edges of your display. Night Light: Set the schedule for when you want “night light” (blue light reduction) to enable on that display.
As you can see, connecting a second monitor to your Chromebook is just as easy, if not easier, than connecting one to a PC, Mac laptop, or desktop computer. However, did you know that you can also use your Chromebook itself as a second monitor? Don’t let the fact that you’re using a Chromebook make you think you’re stuck using only one screen. Add that external screen and start becoming more productive!

