Windows allow more than one audio device, a “feature” that usually makes troubleshooting audio problems needlessly complicated. This is particularly true when recording sound, given that Windows can only record from one source at a time. A single audio device may have two or three audio inputs: an analog (mono) microphone input, an analog stereo “Line-In” or auxiliary input, and sometimes a digital S/PDIF input. Also, special devices, like voice dictation headsets and TV tuner cards, have their own inputs.
Sound Inputs in Windows
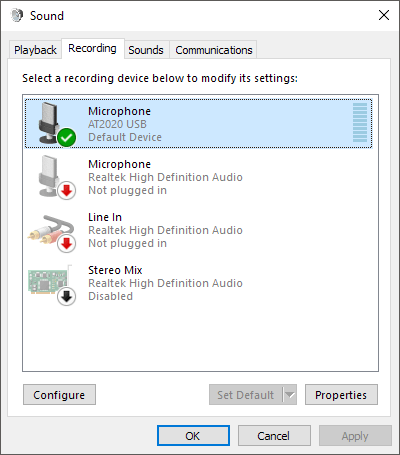
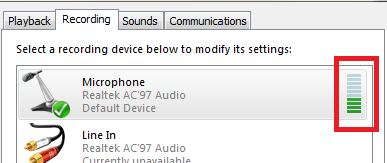
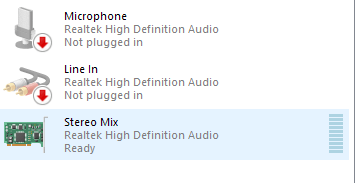
All the inputs for all your audio devices are listed in Control Panel ➝ Sound ➝ Recording tab. To choose the default audio source, highlight the device you want to use and click Set Default. Most applications will automatically use the default device to record sound, but some (particularly voice-dictation software) require that you choose a source separately in the application itself. If you speak to your mic, the mic level should rise real time:
If you select the microphone and click on Properties, you’ll be able to adjust quite a few settings. On the General tab, you get some basic information about the device and you can choose to disable it here if you like. The more interesting feature is on the Listen tab.
This is a cool feature whereby you can play the sound that is being recorded by your microphone directly to your speakers. So as you talk into the microphone, the sound will be played in real time to your speakers. Obviously, this will work much better if you are using headphones, so that the sound from the speakers doesn’t feed back into the microphone. Check the Listen to this device box and select the device you want to play the audio back through. By default, it’s set to your default playback device, which will normally be your headphones or speakers. If you have multiple playback devices, you can choose from the dropdown list. Click the Apply button and any sound picked up by your mic should play through your speakers in real time.
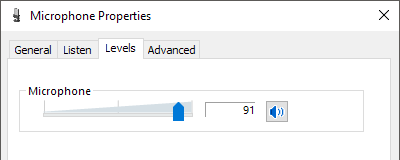
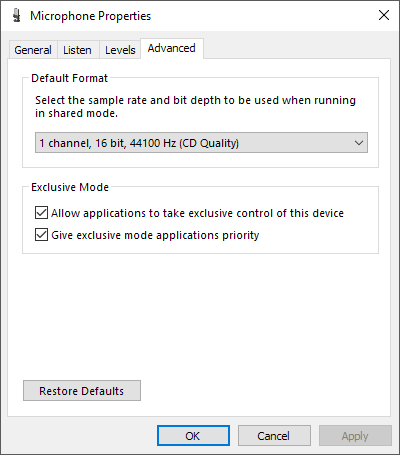
On the Levels tab, you can adjust the sensitivity of the microphone depending on your needs. On the Advanced tab, you can change the default format for the audio. By default, it’s set to 1 channel, 16 bit and 44100 Hz, which is CD quality. There are many other options, including DVD quality, which you can use if you have a high-quality microphone.
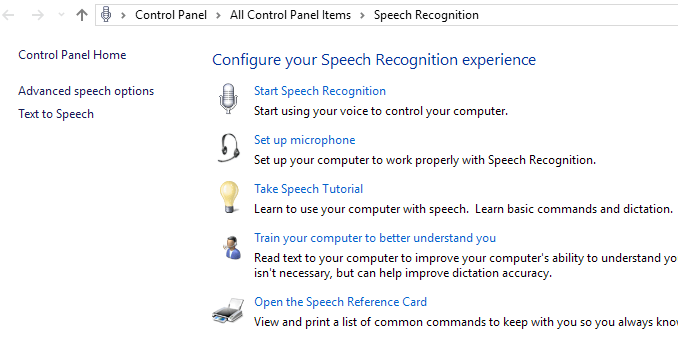
If you go back to the Recording tab, select Microphone and click on Configure, the Speech Recognition dialog will appear. Here you can setup voice control for Windows, train the computer to understand your voice better and setup your microphone properly for speech recognition.
Lastly, back on the Recording tab, you may notice an option called Stereo Mix. If you don’t have this option, it means your sound card doesn’t support the feature.
So what does it do? Basically, it lets you record any sound that is playing on your computer. For example, if you are watching a YouTube video on your computer, how would you record the audio? You could try to place a microphone next to your speakers, but that’s not an ideal way to record that audio. Stereo Mix will let you open a sound recording program on your computer, choose Stereo Mix as the input and it’ll record whatever sound comes out of your computer. If you use the default Sound Recorder or Voice Recorder (Windows 10) apps, they will automatically record from Stereo Mix as long as you disable the microphone first. If you’re using a program like Audacity, just change the sound input to Stereo Mix. Using this input, you can record music playing on your computer, audio from a video playing on your computer, or any other sound from your PC. Hopefully, this gives you a good overview of the different audio inputs in Windows and how you can use them to record the audio you need. If you have any questions, feel free to post a comment. Enjoy!
