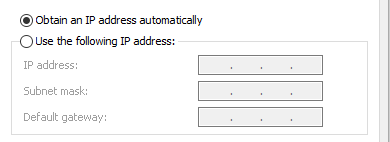
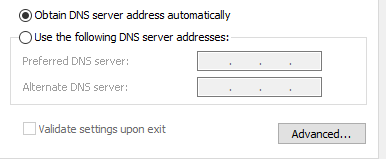
That said, you can also use it to change your IP address when you want to spoof it to bypass geoblocks or online bans on sites that impose such restrictions on their content, or change your Domain Name System (DNS) servers for troubleshooting reasons or to make surfing more secure and faster. In this guide, we’re going to show you how to change your IP address and DNS servers using the Command Prompt in Windows 10.
How To Change IP Address Using Command Prompt
An IP address holds information about your device, location, your internet service provider (ISP), and browser information. Changing it is useful when you have a malfunctioning router that’s providing addresses used by a different computer on the network or an invalid address is accidentally configured. It’s also helpful when you want to install a new router and reconfigure your home network to use the default IP address range. The first step to changing your IP address is to find the network name for the interface you want to change.
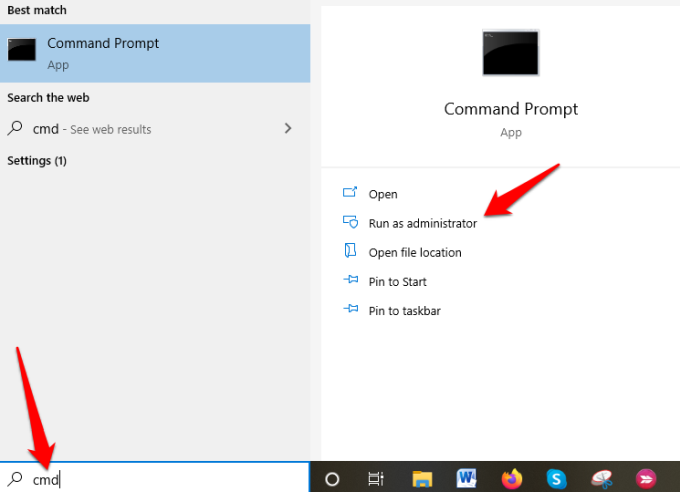
Open an elevated Command Prompt by typing CMD in the search bar and clicking on Run as Administrator.
Next, type netsh interface ipv4 show config in the command prompt window, press Enter, and scroll down to the interface you want.
In our case, we’ll be modifying the WiFi interface, but you can pick the correct interface for your case. Make note of the interface name.
To change the IP address, type this command: netsh interface ipv4 set address name=”YOUR INTERFACE NAME” static IP_ADDRESS SUBNET_MASK GATEWAY
In our example, this command would look like this: netsh interface ipv4 set address name=”Wi-Fi” static 192.168.0.173 255.255.255.0 192.168.0.0 This command will use the Wi-Fi interface, set the IP address to 192.168.0.173, set the subnet mask to 255.255.255.0 and set the default gateway to 192.168.0.0. If you want to switch to using an IP address automatically assigned by a DHCP server instead of a static IP address, use the netsh interface ipv4 set address name=”YOUR INTERFACE NAME” source=dhcp command.
How To Change DNS Servers Using Command Prompt
A DNS server holds public IP addresses and related hostnames in a database, and is used to resolve or translate the hostnames to IP addresses. The server does this by running special software to communicate with other servers through special protocols based on certain requests from the computer. The conversion process is thoroughly vetted and verified, and it happens quickly behind the scenes so as to obtain information corresponding to the server that the computer is looking for, and then tells the original connecting computer where to go so that it can connect to that server. There are several reasons why you’d want to change your default DNS server, but the main ones are:
Boost your privacy when getting around a firewall, bypassing geoblocks or ISP blocks on a websiteIncrease securityParental controls like blocking websites from your routerSpeed your surfing, which your own ISP’s DNS servers may not offer because they’re not always reliable or up-to-date
Note: You can change DNS servers individually for your home network on your router or on computers, smartphone, and Chromebook, among other devices
How To Change DNS Servers With Command Prompt
Follow the steps below to learn how to change DNS servers using Command Prompt.
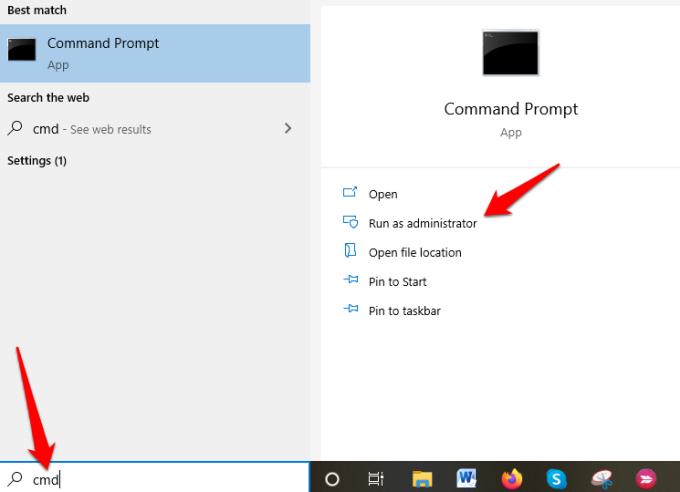
Open an elevated Command Prompt by typing CMD in the search bar, and clicking Run as Administrator.
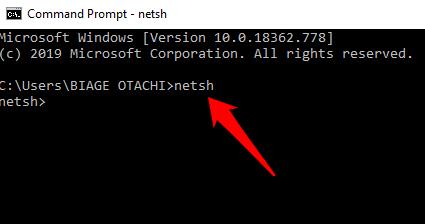
Type netsh and press Enter.
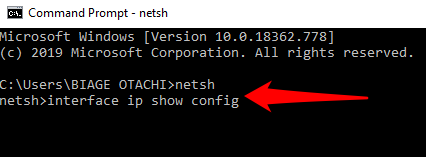
Next, type interface ip show config and press Enter.
Find the network interface whose DNS server you want to change, and enter the netsh interface ipv4 set dns name=”YOUR INTERFACE NAME” static DNS_SERVER. This will set your primary DNS server.
From our example above, we changed the IP address for the “Wi-Fi” interface, so we’ll use the same example to change DNS servers. For purposes of this guide, we’ll use Google’s primary public DNS server, 8.8.8.8. The command will look something like this: netsh interface ipv4 set dns name=”Wi-Fi” static 8.8.8.8
Next, type the netsh interface ipv4 set dns name=”YOUR INTERFACE NAME” static DNS_SERVER index=2 command to set the secondary DNS server. Again, we’ll use Google’s public DNS secondary server, 8.8.8.8 as an example, which will look like this: netsh interface ipv4 set dns name=”Wi-Fi” static 8.8.4.4 index=2.
Note: You can use the netsh interface ipv4 set dnsservers name”YOUR INTERFACE NAME” source=dhcp command if you want the network interface to automatically pick DNS settings from a DHCP server. Continuing with our example, this command would look like this: netsh interface ipv4 set dnsservers name”Wi-Fi” source=dhcp
Conclusion
Command Prompt is a great tool to use when you want to change IP addresses and DNS servers. It’s faster and saves you the hassle of having to click through several windows and dialog boxes from the Control Panel interface just to get to the IPv4 Properties dialog box to do the same thing. Was this guide helpful? Let us know by dropping your comment in the section below.

